Evaluating Your Farm Trial Results

Sally Krueger

Feb 20, 2019

Share this post on:

How to measure the information you’ve collected from your on-farm trial and what to do with it.

In our series on running your own farm trials, we're looking now at what to do with the information you gather during your trial. For the most part, the clearest conclusion to the question you started with at the beginning of your farm trial will come at harvest, so it is important to make sure you do your part to get the highest quality data.

Harvest Intentionally 

Make sure your combine is clean, properly calibrated and in its best working order. Don’t let your trial be the place you decide to change all your settings.

Check your yield monitors before harvest.

Your yield monitors actually have mechanical components that can become worn or broken. During your pre-harvest check on your combine, check the four main components of the yield monitor:

  • Yield Sensor: Check for wear and/or alignment.

  • Moisture Sensor: Check for old crop residue in or on the sensor as well as the auger system for testing moisture which can blow small fuses.

  • Display: Verify Grower, Farm and Field structure is set up, and Variety Tracking information is set up and turned on.

  • Receiver: Check for solid GPS connections once outside with a clear view of the sky.

Be conscious of your harvest speed.

If you want your data to give you an accurate portrayal of how your new processes are performing, you should give them every opportunity to show what they can do. And hurrying through a plot won’t give you that picture.

Keep an eye on the endrows.

The endrows of your test plots can skew your measurements due to outside factors, giving you a false indicator. If any part of your trial could overlap a buffer row, make sure it affects both treatments equally.

Measure your harvest area before you harvest each plot.

If you have a well-calibrated yield monitor, your machine should take care of this for you. As an alternative, you can calculate yield by measuring weight with a weigh wagon or truck scales, and then area harvested with the formula below. 

Check your work.

Your yield monitor will provide you with moisture readings, but if you don’t have a monitor, take samples to your local elevator and have it tested there. When FBN presents data, we work with moisture-adjusted yields.

Remember: You should always calibrate your yield monitors for accurate benchmarking and better insights on your own operation. 

Review and Evaluate

It’s great to have all the info you gathered from your farm trial during the season. But now you have to know what to do with it! Take yourself back to the start of the process and revisit what question you were trying to answer, and what steps you were taking to get your answer.

Then combine all your scouting notes on pest or disease pressure, photos, any unique field history or features, soil test results and fertility applications in FBN, where you can see a full picture of your observations combined with weather, satellite imagery and yield.

All of these pieces will help ensure that you have a detailed look at your fields, as well as your overall operational competitiveness and performance. 

Remember, Trials Aren't Entirely About Yield 

Not all questions you may ask in the planning stage of your on-farm trials should be expected to result in a single answer around higher yields. Not every practice you trial may increase yield; some practices may increase your profit by decreasing input costs.

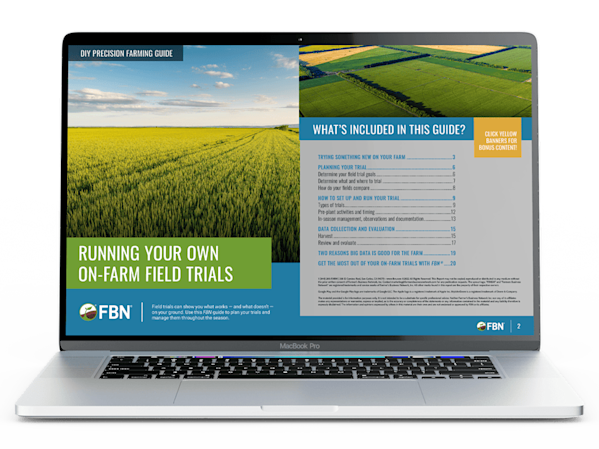
Ready to run your own on-farm field trial? Download the Running Your Own On-Farm Field Trials: DIY Precision Farming Guide for free by clicking the link or completing the form below.

Sources: 

Sally Krueger

Feb 20, 2019

Share this post on:

Download the DIY Precision Farming Guide: Running Your Own On-Farm Field Trials

Complete the form below to access the free guide.